

Copilot for Microsoft 365 is a great tool to increase your productivity and creativity. But what if you want to use Copilot for Microsoft365 beyond your proprietary data? Well, then you can use a Copilot action (formerly known as a Copilot plugin).
But what if there’s no out-of-the-box plugin available for it? Well, we’ll just make it ourselves! And you can do that with Copilot Studio!
Copilot Studio is the descendant of the former Power Virtual Agents, which allowed you to create chatbots for use within M365 or externally on your own website. Copilot Studio takes this a step further and lets you create Copilots in addition to chatbots. Copilot Studio is part of Power Platform. For example, you will see that when you create a Copilot plugin, or rather a Copilot Action, they are part of a solution. If you were to go to the solutions in Dataverse, you will see the solution for your Copilot Action listed there, along with its components.
Before I explain to you how you can create your own Copilot action, I would like to give you a word of explanation about the different Copilot Actions you can make, because there are 4 types at the time of writing. This way you can better understand the differences and make a clear decision in which one suits you best:
1. Connector: This Copilot action can be created by means of prebuild connectors that will address internal M365 or external services or resources. We will discuss this Copilot further in this blog post.
2. Conversational: This copilot is similar to the Topics that you can find when creating a chatbot. Think for example, of calling a specific API, applying business logic or a data source outside of Microsoft Copilot.
3. Prompt: This is a Copilot that will generate a certain text based on a user’s input. In addition, you can enrich a prompt Copilot action with data from a Dataverse table.
4. Flow: This Copilot action is triggered from Copilot and can then do one or more actions like in Power Automate and then reply back to Copilot.
Ok, let’s take a look at how to create a conversational Copilot action. I used
the following things to make these:
- A Copilot for M365 license
- A Copilot Studio license (trial)
First let’s go to Copilot Studio, click on Copilots and then on Copilot for Microsoft 365

Next, click on Add action (all the way to the right)

After that we will see the following screen where you have the choice between the 4 types of Copilot actions. Let’s click on Conversational.

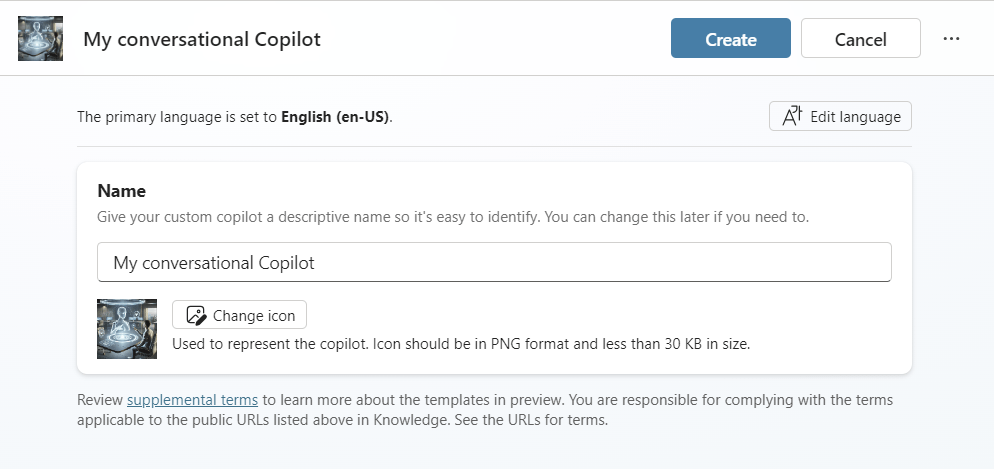
Next, give your Copilot action a suitable name. If desired, give it a suitable icon and then click on Create.
Now you will see the home screen of your Copilot action. As you can see, you have an overview dashboard and a Topics tab. just like when creating a chatbot, a conversational Copilot action revolves around topics, where this Copilot action consists of a conversational topic.
Let’s click on Edit the topics.

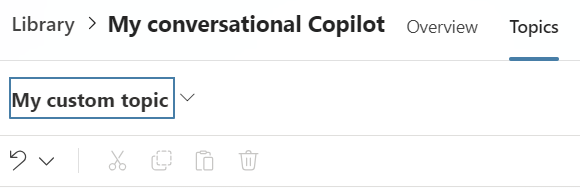
Now we see the conversational topic of our Copilot action. There we notice 2 important things. Firstly we’ll give our topic a name instead of Untitled. This name is later used in your Copilot chat UI.
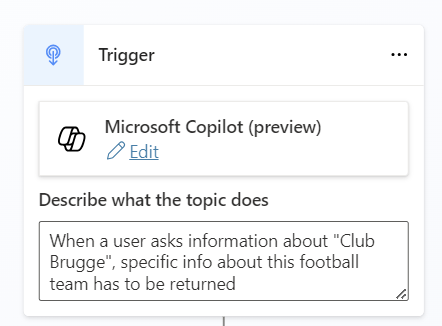
Secondly, we see some information that helps us configure our conversational topic and here is something special. The description of our trigger is not just a static description, this description is important because it will be used to call your Copilot action. In other words, based on what the user will enter in the Copilot chat, this will be matched with the description that you enter here. This will cause Copilot to decide whether to use your conversational Copilot action.

First I’m going to give my topic a suitable name: My custom topic.
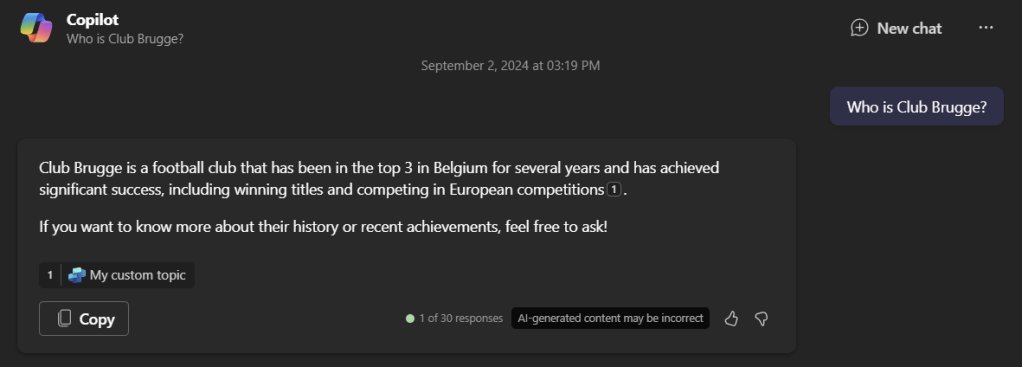
Then I’m going to give it a proper description based on how I want my Copilot action to be called. For this example I’m going to use a Belgian football team: Club Brugge. When a user asks information about this Belgian football team, i want my conversational Copilot action to be triggered and return information about this football team back to the user.
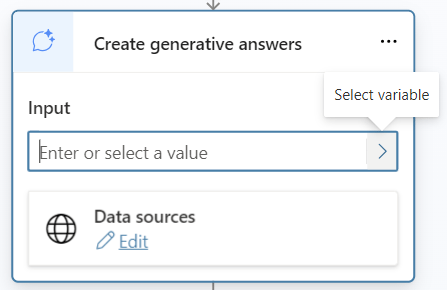
Next, click on Add generative answers

As input for this generative answer, I want the last thing the user asked in the chat to be used. This can be done by using the system variable Activity.Text. Click on the arrow to the right in the input field.
Click on System, scroll a bit down until you see Activity.Text and select it

Next, i want the website of this football team to be used as a data source so that this Copilot action will look for info on this website. Let’s click on Edit below Data sources.
A panel will open to the right. Expand the Classic Data menu. Insert the url of your source and click on the + sign

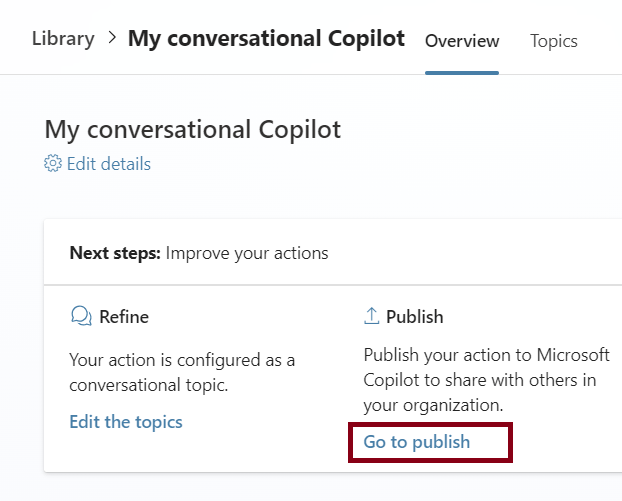
Click on save on the top right, and go back to the overview dashboard. Next, click on Go to publish below Publish.
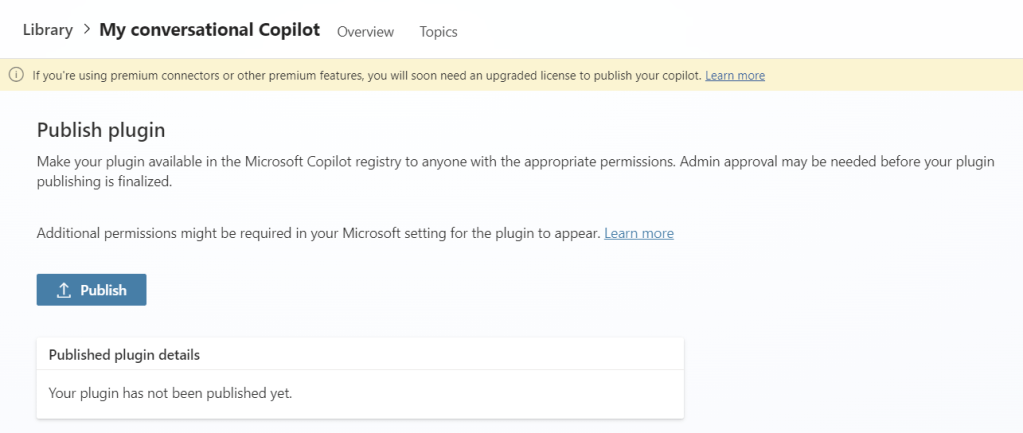
Finally click on Publish. It can take a couple of minutes before your conversational Copilot action is published and is visible in the chat UI.
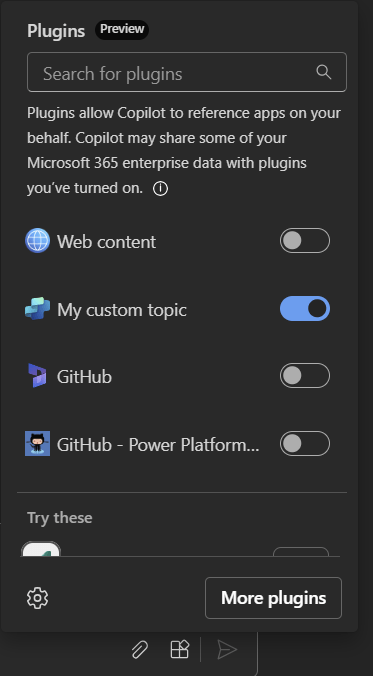
Once our Copilot action is published, we can go to the Copilot chat. Right below, you can unfold the plugins. Next you’ll see your Copilot action. As said before, the name of your topic will be used here. Slide the toggle to the right so that the Copilot action is activated and thus will be used.
Finally you can see that your conversational Copilot action is used.
Happy coding!
