
This blog post is part of a series. In this one we’ll highlight the authorization code flow. Check out the other posts about the other authorization flows:
- Mastering Access Token Acquisition: Using a refresh token
- Mastering Access Token Acquisition: Client Credentials Flow
- Mastering Access Token Acquisition: Using a certificate
A very important part when using certain endpoints is the authentication part. When you use the Microsoft 365 environment, all kinds of endpoints are constantly being addressed. You should not worry much about the authentication because this is done for you. You log in and an id token or an access token is retrieved and used throughout your journey in Microsoft 365. When the access token expires after 1 hour, a new one is retrieved based on a refresh token, but here the user sees nothing at all because it is done for you.
However, when you start building applications yourself, you have to take matters into your own hands and preferably in the safest possible way. In this blog post series I will discuss the most commonly used authentication methods
First things first
When using the type of authorization flows, you don’t authorize with a user like you would when using the Microsoft 365 platform, you use an app where you define the necessary permissions that can be used along this app. This way you isolate the security to only the necessary rights for which the app will be used. So how de we create such an app and provide it with the necessary permissions?
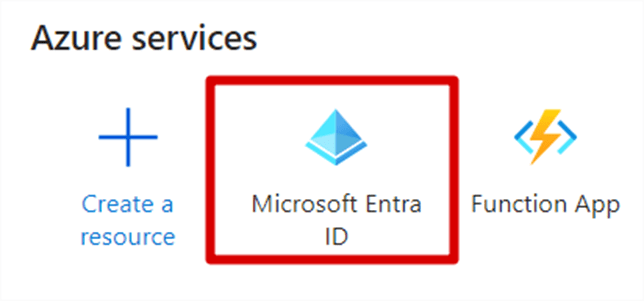
When going to https://portal.azure.com, go to Microsoft Entra ID
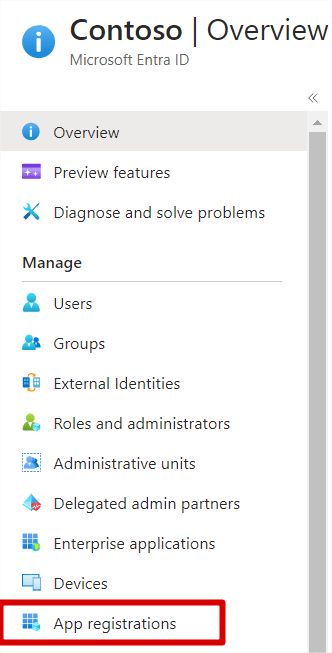
From there navigate to App registrations.
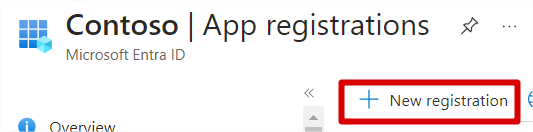
And click on New registration
Next give your app registration a title and click on Register

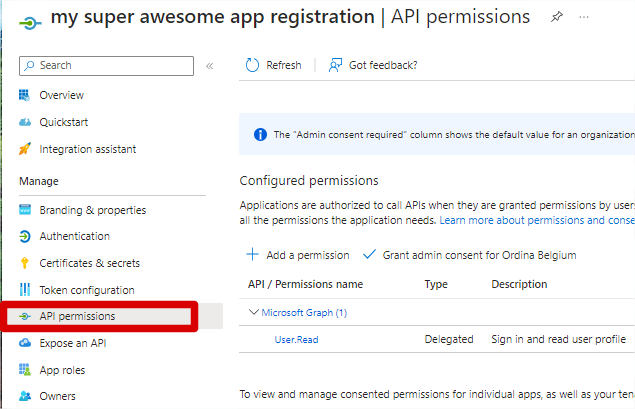
Finally you can give your application the necessary permissions by clicking on API permissions and adding them.
Authorization code flow
The Authorization code flow is a 2 step flow where you have to call 2 endpoints. First you have to call the authorize endpoint with a GET method from where you are redirected to a predefined redirect url which provides you a code. With this code you can call a second enpoint, the token endpoint with a POST method which will provide you with the access token.
First your app has to have a predefined redirect url. This url is used to send the code to that url so that your application can use this code to get an access token.
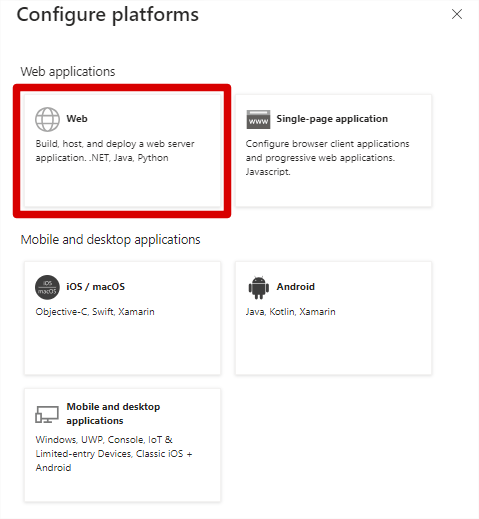
Go to your Entra App registration and click on Authentication and next on Add a platform

You’ll see that a panel pops up in the right of your screen. Click on Web.
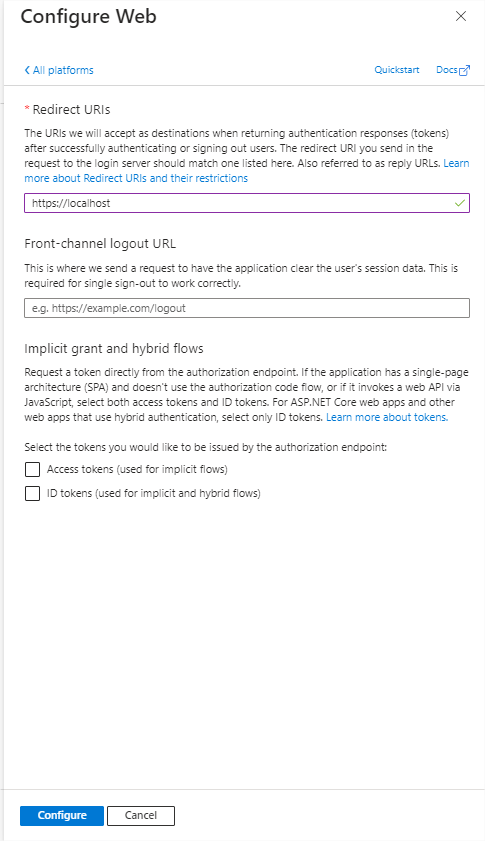
Provide the redirect url where your code has to be send to. This is typically an url of your application but for this blog post i use https://localhost. Next click on Configure
Next we can do a GET request to the authorize endpoint where we need the following values:
- client_id: The id of your client, can be found in the home screen of your app registration.
- response_type: code
- redirect_uri: This has to match to the redirect url that we have provided in the authorization section. In this example this should be ‘https://localhost’
- scope: the scope must be the resource identifier of the application against which you want to use your access token, added with .default. For Microsoft Graph this would be for example ‘https://graph.microsoft.com/.default’. If you also want to get a refresh token back, you have to add offline_access to your scope. For instance: ‘https://graph.microsoft.com/.default offline_access’
- state: The state is a string value which is also provided along with the code. This can be information from where the user has called the authorize endpoint for instance. In this example it is not of much use so we’ll just put ‘12345’
This information is provided as a querystring along with the authorize endpoint. For example it could look like this:
https://login.microsoftonline.com/[YOUR_TENANT_ID]/oauth2/v2.0/authorize?client_id=[YOUR_CLIENT_ID]&response_type=code&redirect_uri=https://localhost&scope=https://graph.microsoft.com/.default&state=12345
You can enter this url in your browser, after which the user will see a login screen where it must enter its username and password. Next you will see a screen where it asks you to accept the permissions needed for this app registration:
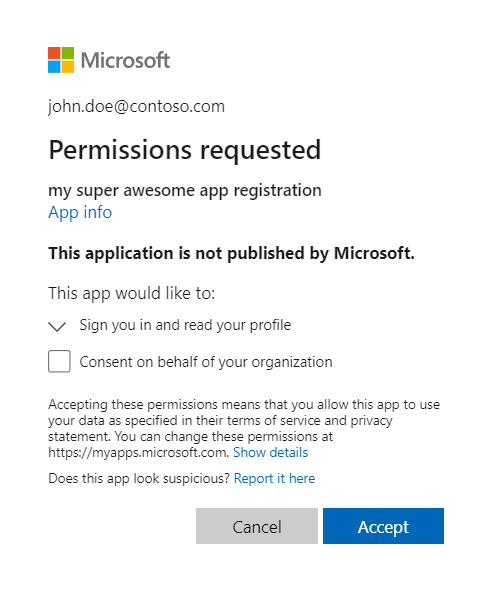
After you clicked on accept you will be redirected to your redirect url along with the following query string parameters:
- The code needed for the next step
- The state you provided along with the authorize endpoint
- session_state: this is a guid to keep track of the user’s session
Now let’s move to the 2nd endpoint, the token endpoint. For this you will need the following parameters:
- client_id: The id of your client
- client_secret: The client secret of your app registration. This is something you can generate in the Certificates & secrets section of your app registration in Azure.
- grant_type: authorization_code
- code: The code you got back in the previous step. Be aware that you can only redeem this code once!
- redirect_uri: The same redirect_uri parameter as in the previous step.
- scope: The same scope as in the previous step.

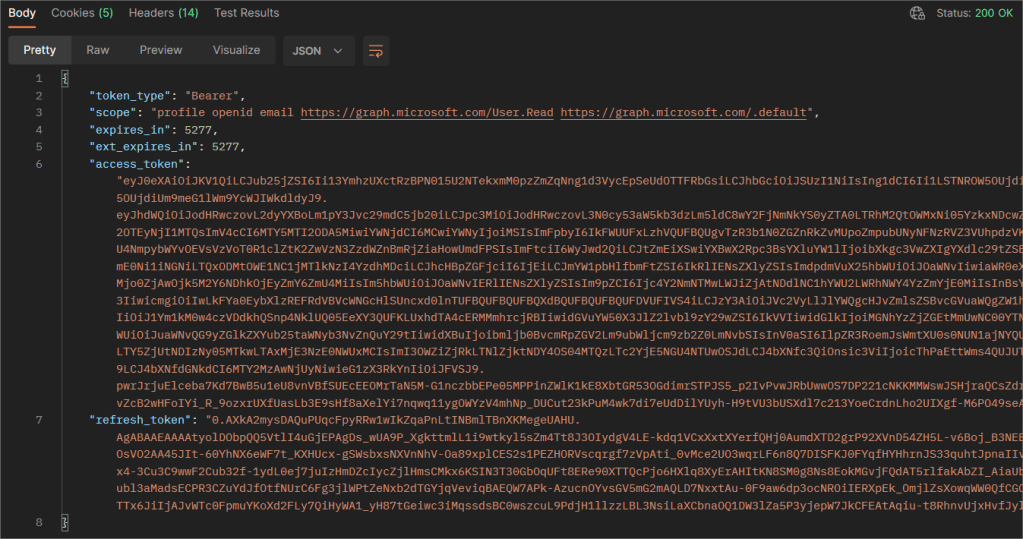
If everything goes right, you get a json back which holds your access token and refresh token (if scope provided with ‘offline_access’)